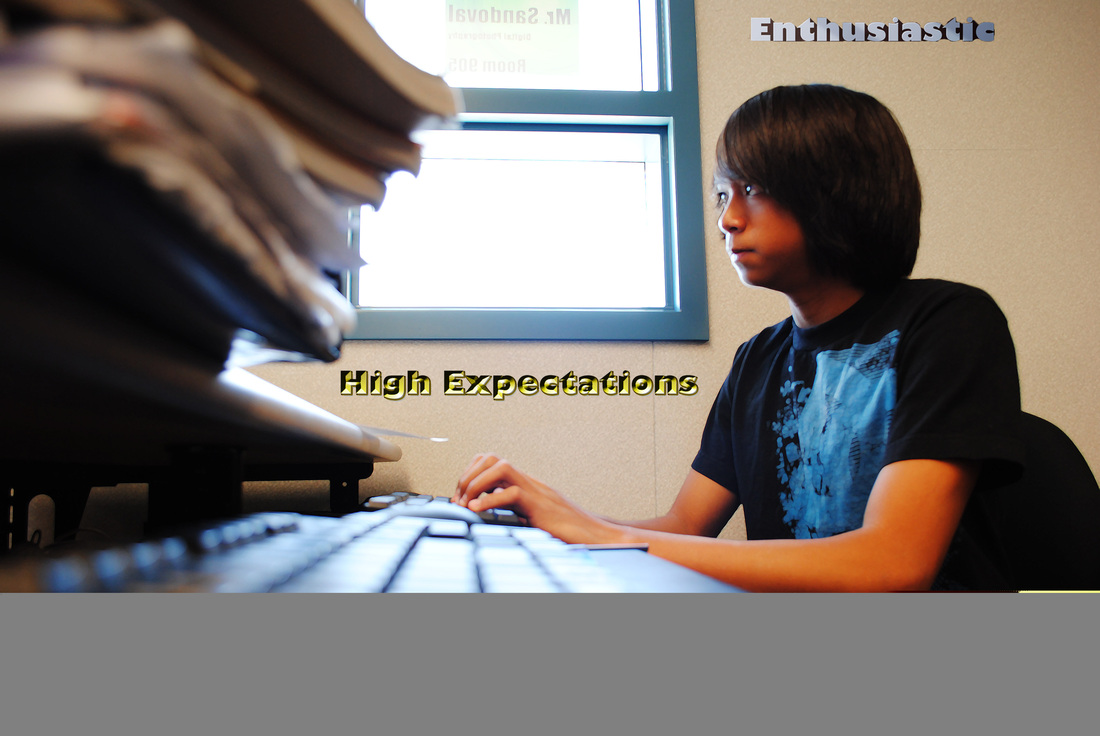
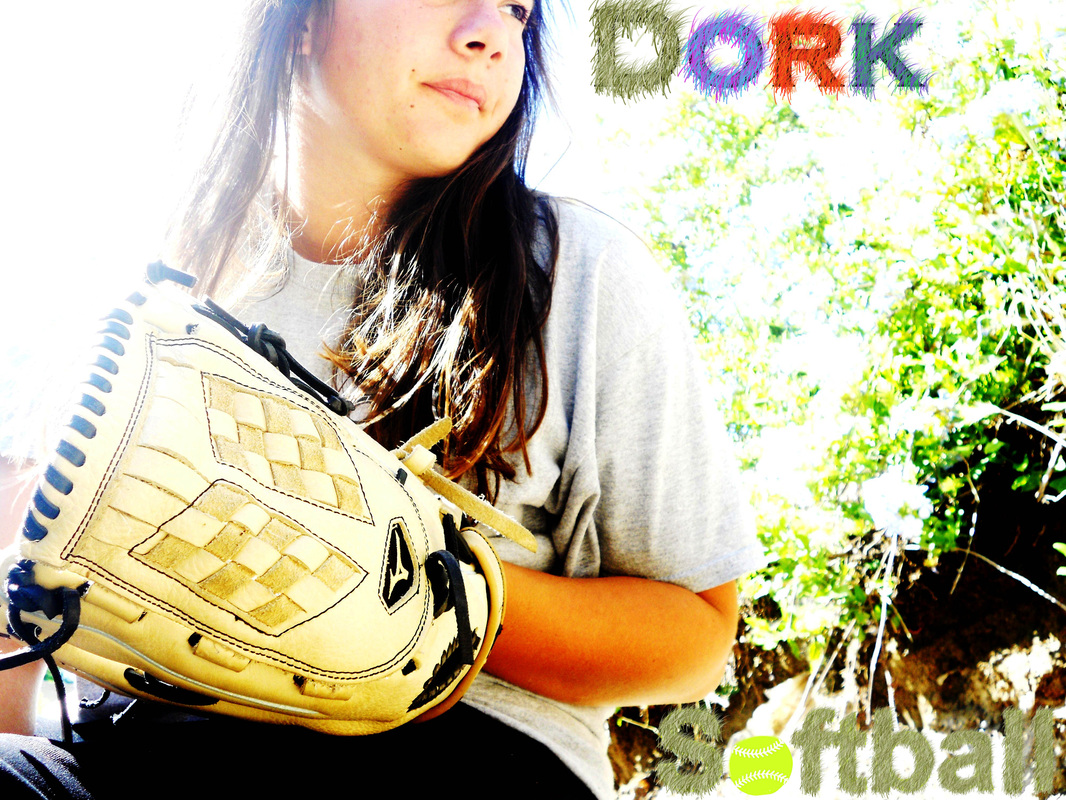
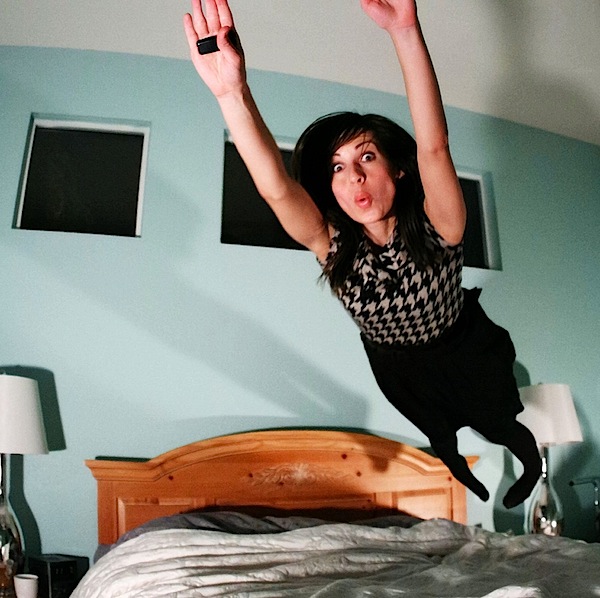
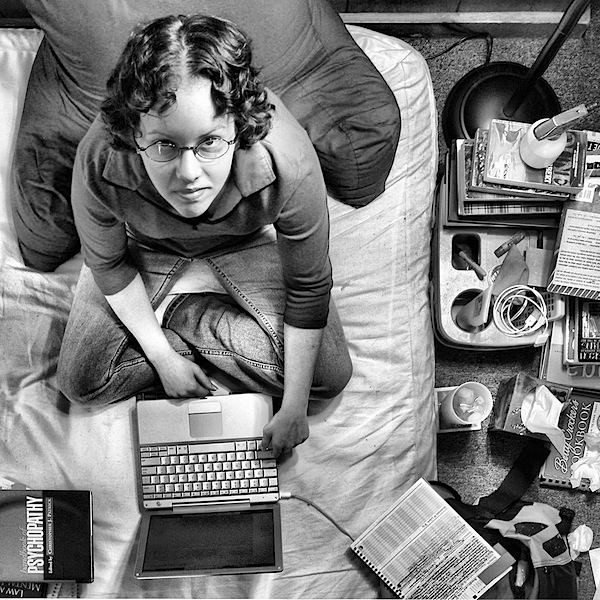
Adjective Photographers
Find an image from one of the photographers below that can help come up with at least 3 adjectives.
List the Photographer, Year and title if possible. 3 adjectives that describe the photo. A few sentences on why you chose this picture.
Gregory Crewdson
Sylvia Plachy
Philip-Lorca diCorcia
Andreas Gursky
Joel Meyerowitz
Garry Winogrand
Lee Friedlander
Then you will come up with ideas of photos of your own to portray the 3 adjectives. Please post your ideas on blog and get my approval before you check out a camera. You may use your camera phones on Thursday and Friday.
Make sure you edit Photos (contrast, levels, exposure, curves etc) and label your adjectives
Final Project (Portfolio Presentation: You may use Windows Movie Maker,Prezi or PPT)
- Choose your 10 (minimum) top photos and/or photo projects.
- Create a 2-3 minute presentation
- With full transition between in each work of art.
- Music and or sound
- Title and Text Tutorial
- Reason why we do a portfolio should be a slide on presentation.
- Label each photo or project.
Resume Writing, Job Application and the Interview Process.

The next week or so we will be learning about how to create a resume and fill out Job Applications.
Create a resume. Make sure you are using a Microsoft Word template and use complete sentences.
Create a resume. Make sure you are using a Microsoft Word template and use complete sentences.
- Also gear your resume towards a photographer's assistant job or Photo Editor job.
- Fill out a sample job application
- Summary of preparing for an interview: Interview questions, what to wear to an interview and what colors are best, what you need to do to prepare for the interview.
End of the year survey - Click link below
Click Here for ScreenOmastic
Telling My Own Story - Digital Storytelling
You will be creating a 2-3 minute Power Point Slideshow or Prezi presentation to tell a story about yourself or a family member or friend or relative. This story can be either fiction or non-fiction. The slideshow will include photos that you will take and photos that you have taken in the past. You will have the option to scan in old pictures or use digital files of those photos.
Write-Up Exercise
On your blogs fill in the blanks and answer the questions in a Minimum of 100 words.
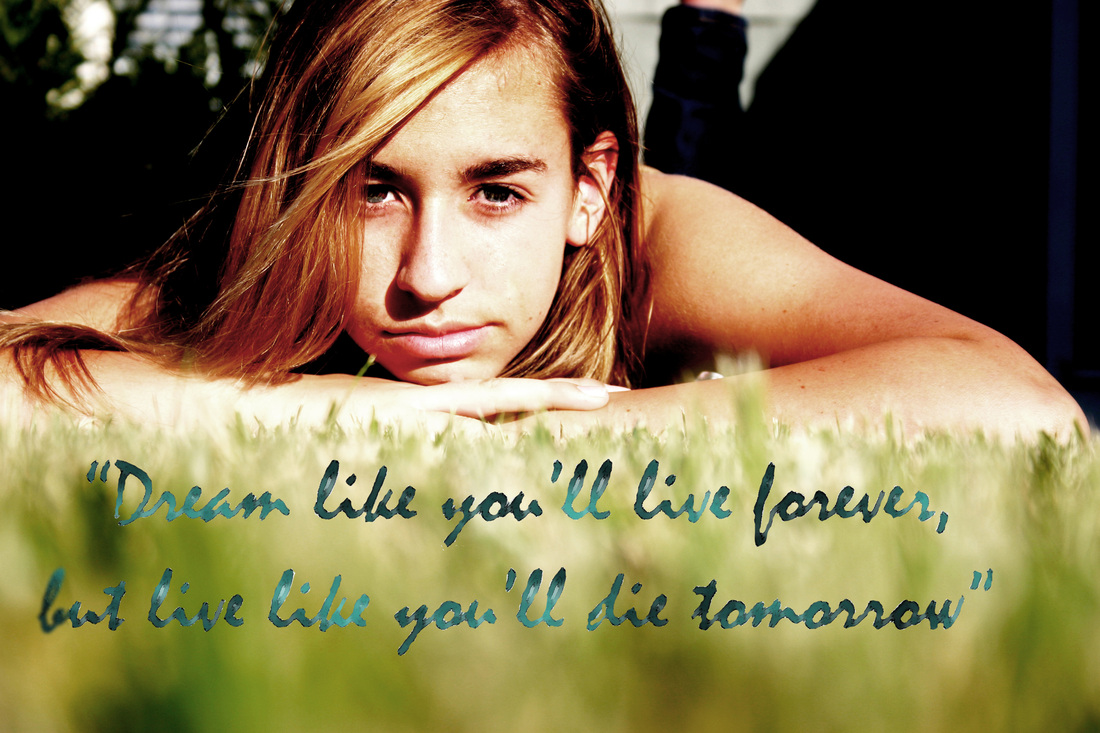
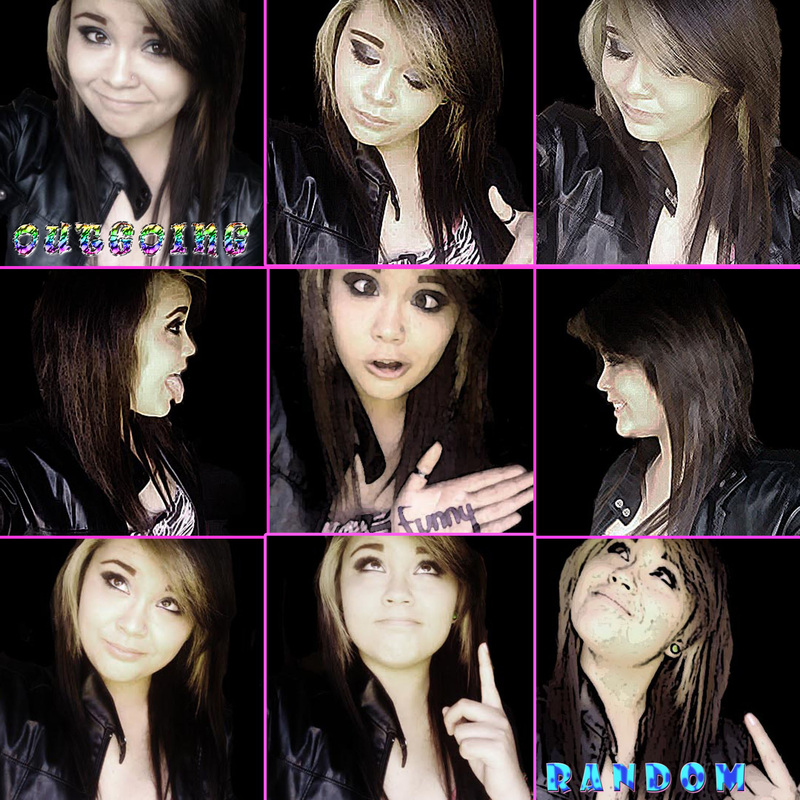
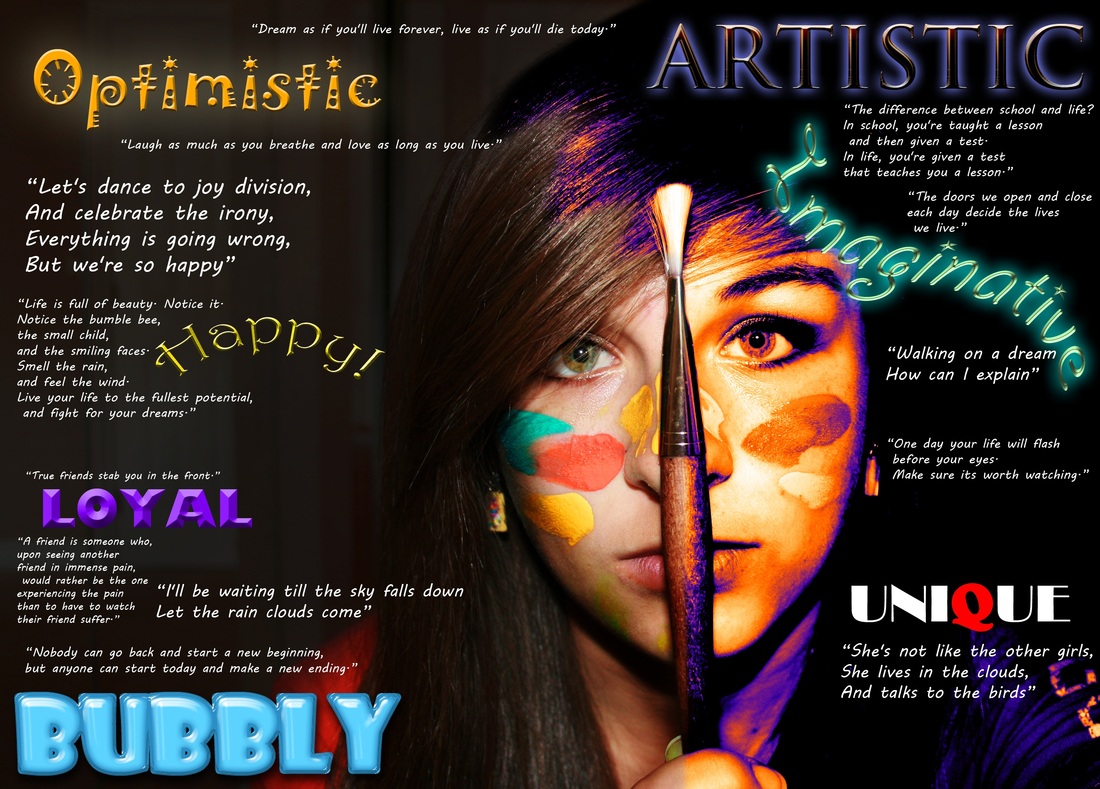
“People say I….”
“What is it that your friends or family say about you?
What do they know about you?
Is it true or is something missing in the picture they have of you?”
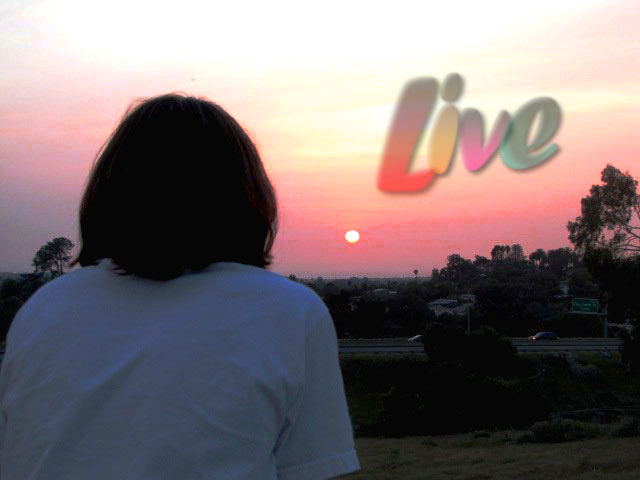
Digital storytelling is a short presentation that allows people to tell their own stories using digital technology in a simple way. You can use photographs, add your own narration, mix poetry, music, etc. to express yourself, define who you are, or share something that is important to you. We will be viewing samples of digital stories. The first sample is called “With the Bomber or the Bombed.” This digital story is a first person narrative that incorporates personal photographs, found images, graphics, text and sound.
Write-Up Exercise
On your blogs fill in the blanks and answer the questions in a Minimum of 100 words.
“People say I….”
“What is it that your friends or family say about you?
What do they know about you?
Is it true or is something missing in the picture they have of you?”
Digital storytelling is a short presentation that allows people to tell their own stories using digital technology in a simple way. You can use photographs, add your own narration, mix poetry, music, etc. to express yourself, define who you are, or share something that is important to you. We will be viewing samples of digital stories. The first sample is called “With the Bomber or the Bombed.” This digital story is a first person narrative that incorporates personal photographs, found images, graphics, text and sound.
Requirements for Digital Story
1) Digital story should have a beginning, middle and an end.
2) Your story can be a self biography about your life and any event in your life. Your story can also have a question, challenge, or struggle that you faced with regard to their identity or someone else might have if they were to encounter them.
3) Include digital still images you have captured yourselves,or another participant has captured, or
copyright free images. Images may have already been taken at an earlier time.
4) Should include a narration or text, and audio clips or music(sound).
5) Should be 2-3 minutes in length.
Creating a web banner for our class website.
1. First research 5 great examples of web banners on google.com and post them on to your websites. These samples should be of technology and or photography.
2. Start coming up with your ideas for the class web banner.
3. The dimensions for the banner should be 800x300 or 770x230 pixels with a resolution of 72.
4. Incorporate a photo taken by you into the banner.
5. Also include some kind of text tutorial that states our class and department "Creative Arts - Photographic Imaging" with the school logo and "Mr. Sandoval"
6. We will vote as a class which banner will be published as a class. They will also be graded.
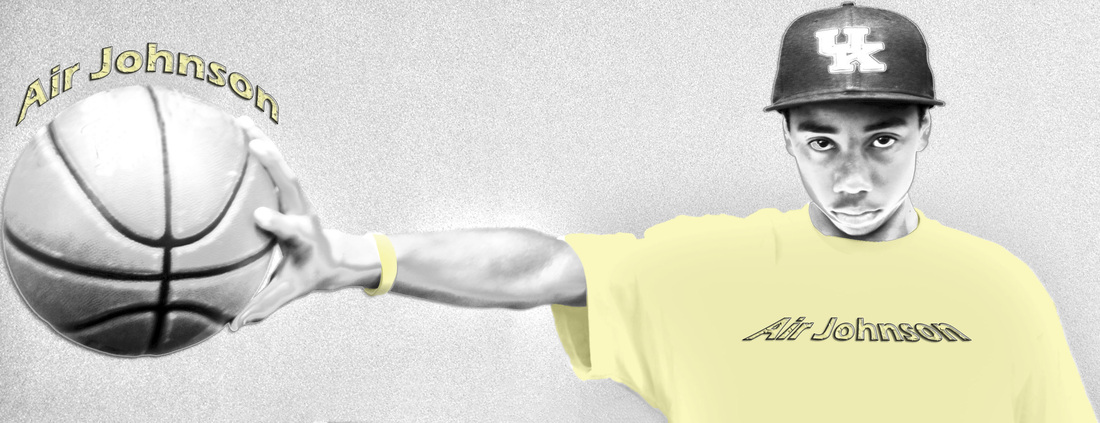
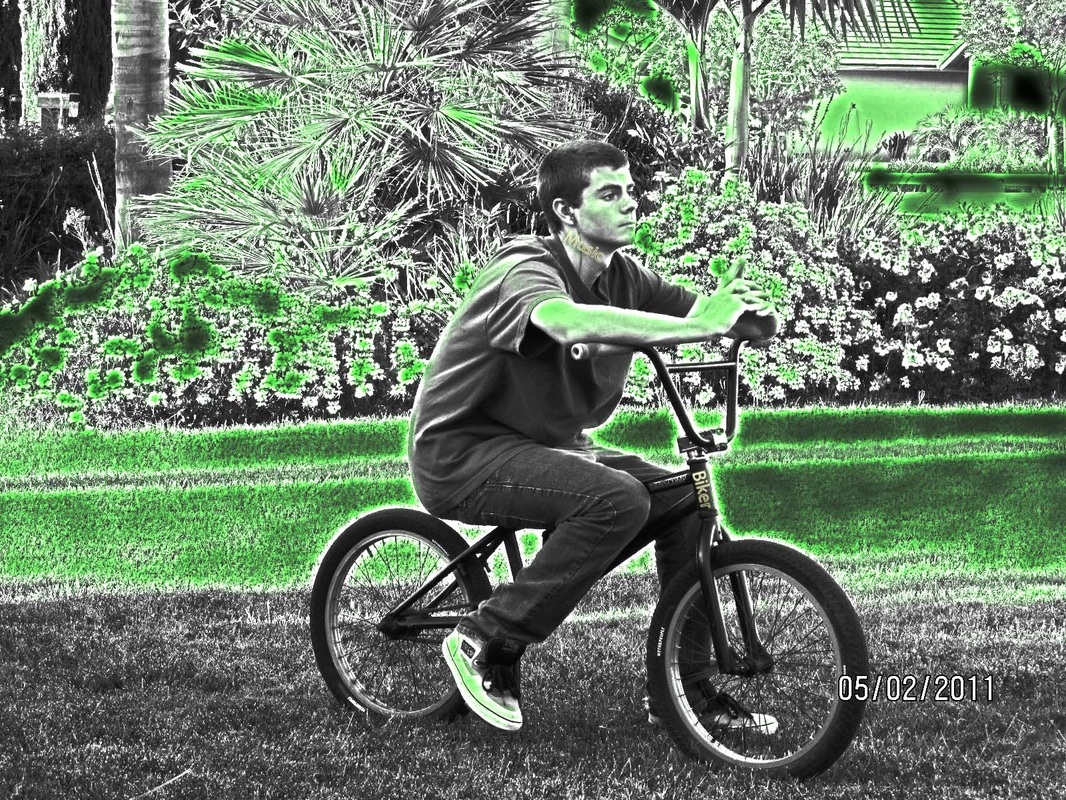
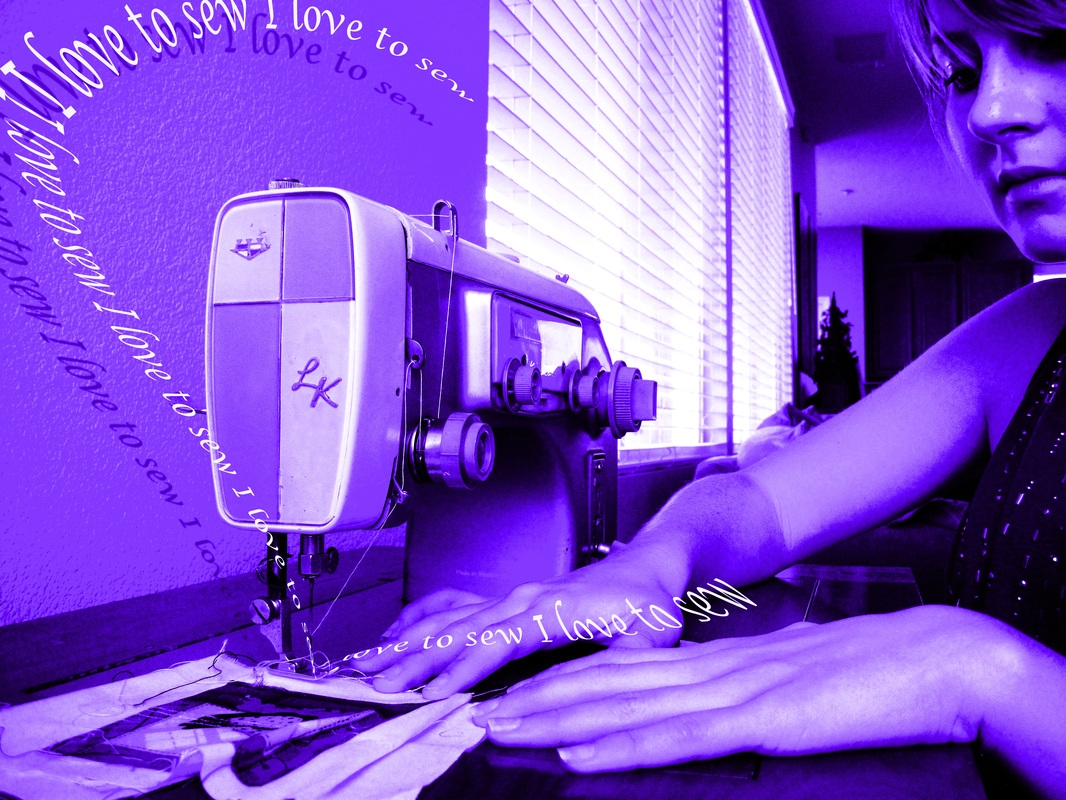
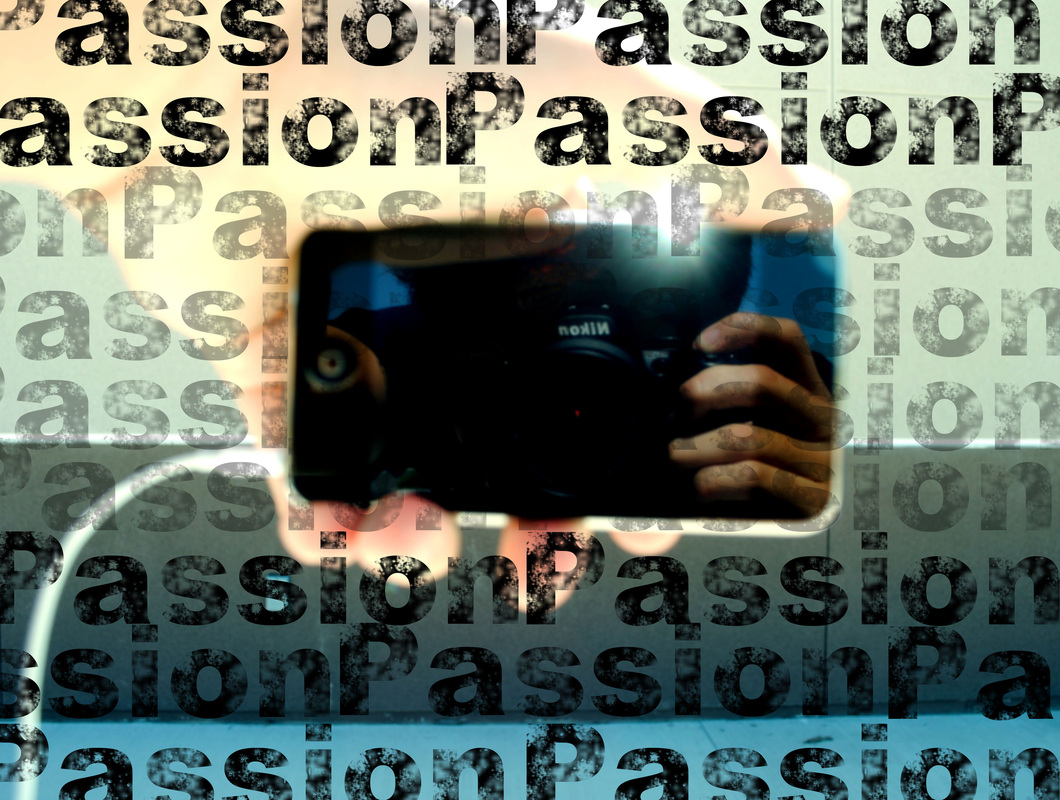
7. Below are some students samples that have won in the past.
2. Start coming up with your ideas for the class web banner.
3. The dimensions for the banner should be 800x300 or 770x230 pixels with a resolution of 72.
4. Incorporate a photo taken by you into the banner.
5. Also include some kind of text tutorial that states our class and department "Creative Arts - Photographic Imaging" with the school logo and "Mr. Sandoval"
6. We will vote as a class which banner will be published as a class. They will also be graded.
7. Below are some students samples that have won in the past.
Click on link below on how to take a Panoramic Photo
SD County fair link
|
| ||
Self Portrait "Multiple Me" Student Samples
Click thumbnail below.


| self_portrait_project.docx |

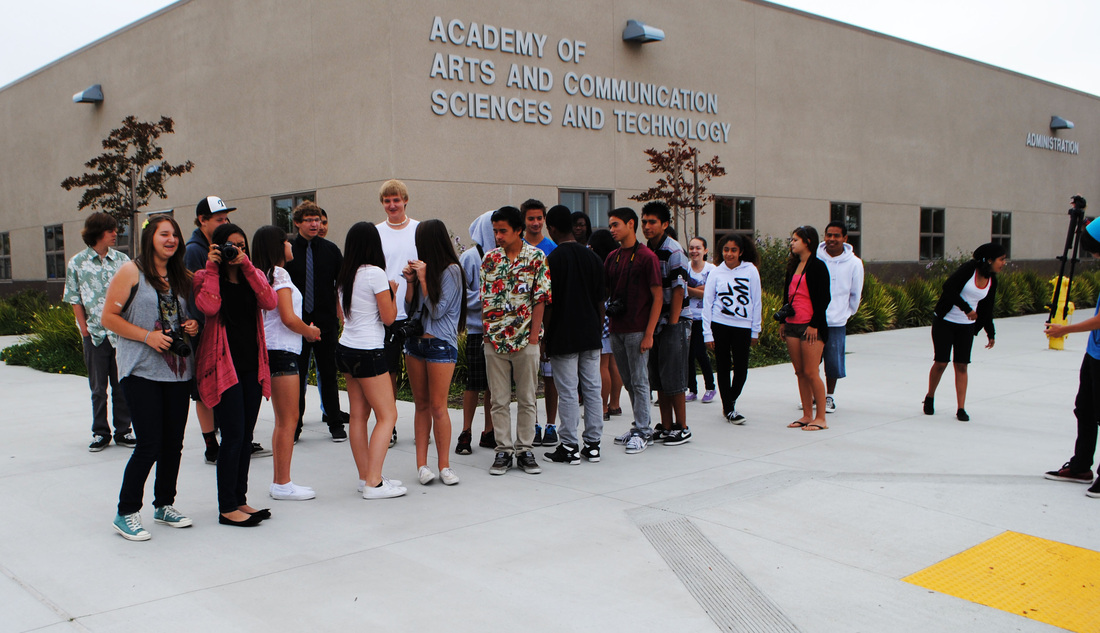
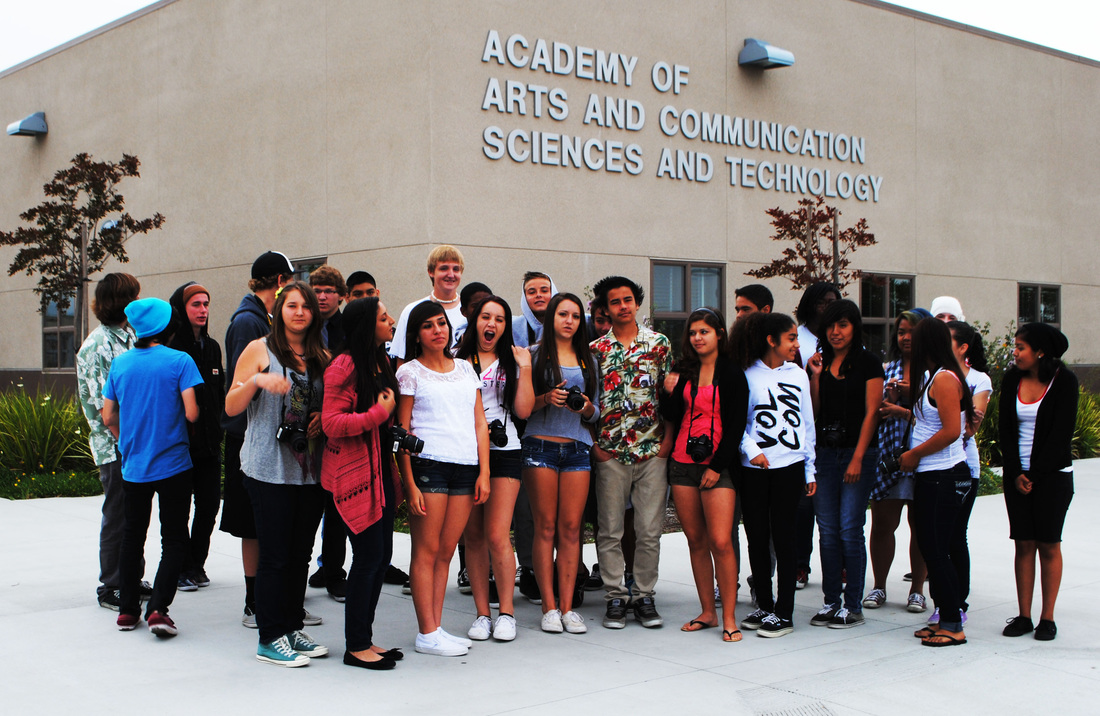
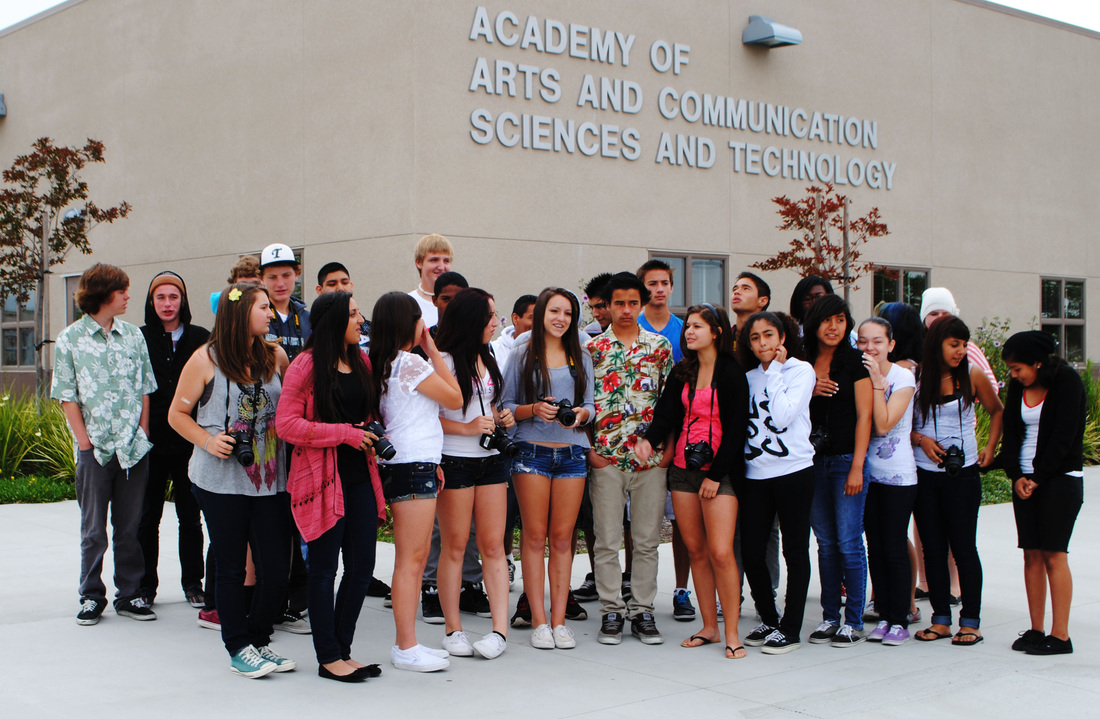
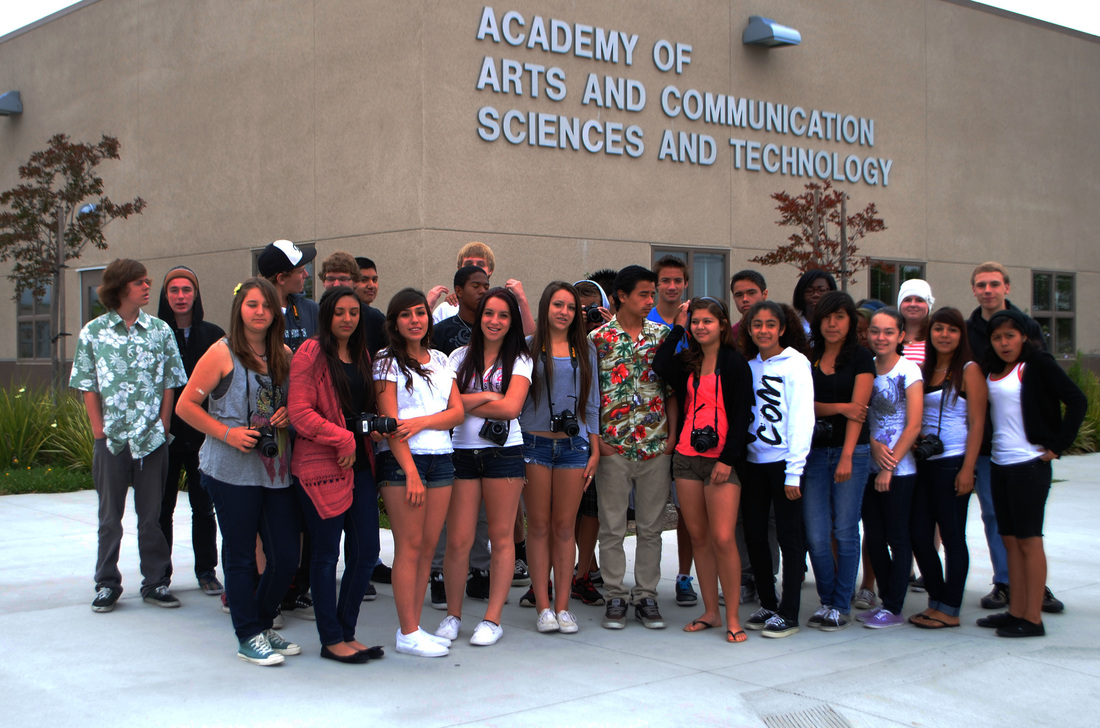
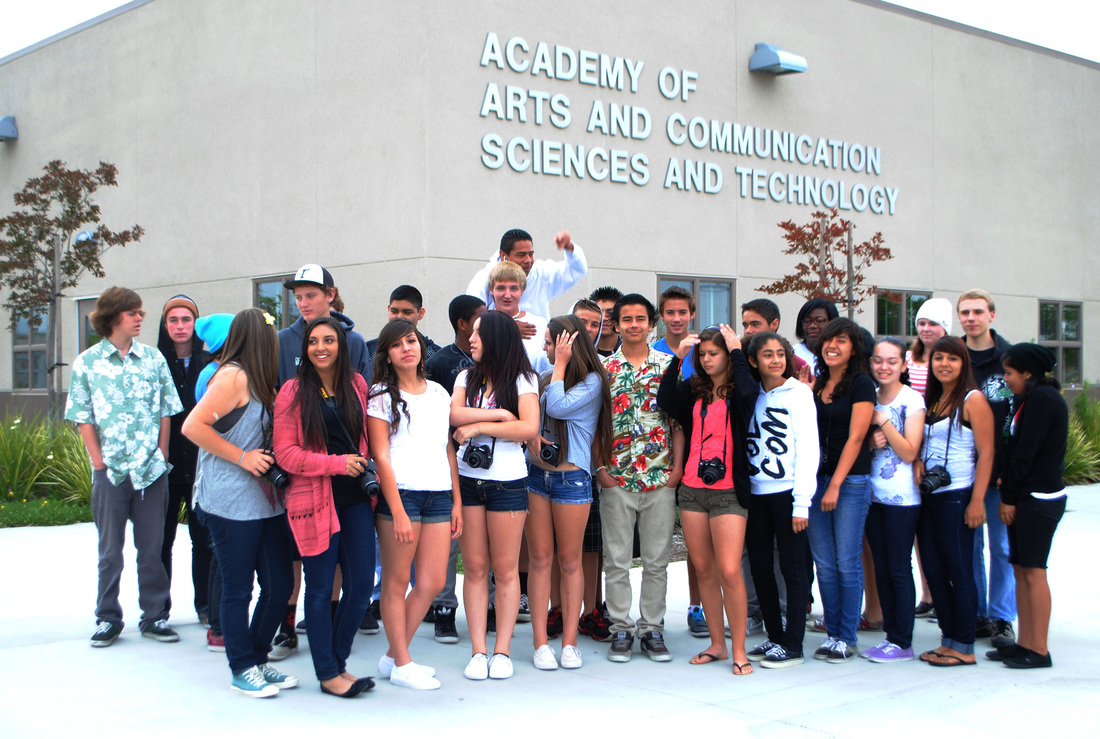
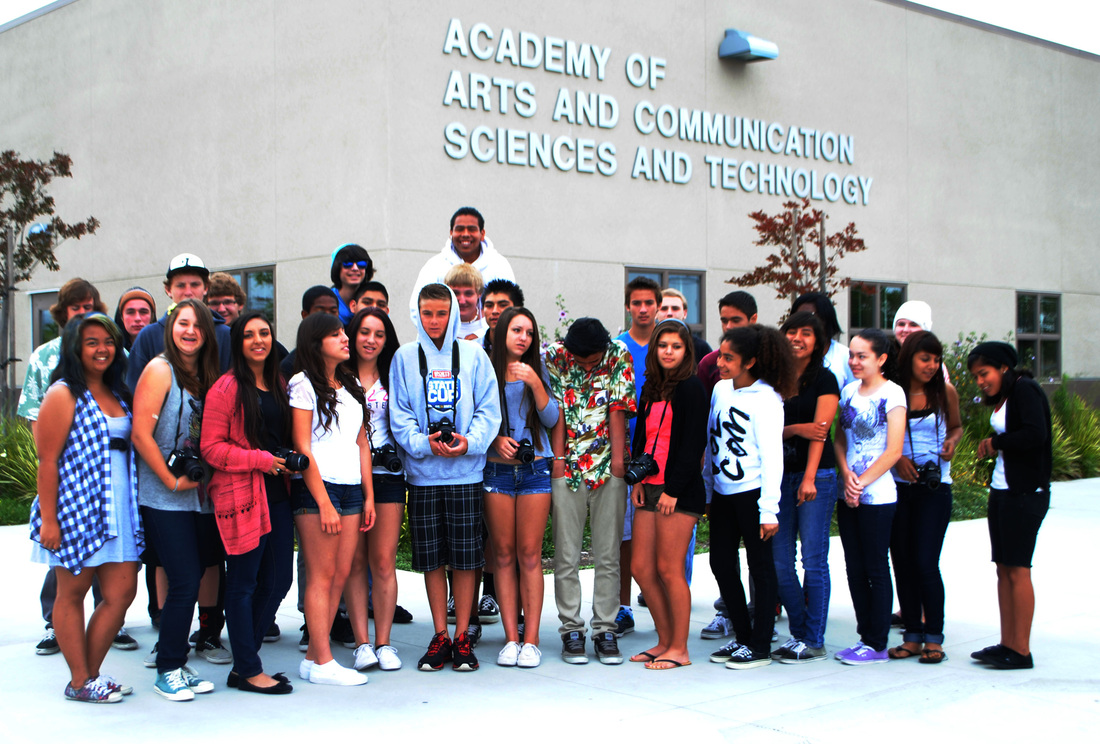
Group Photos
Take 5 quality group photos.
| how_to_take_great_group_photos.doc |

Week 12 ISO-International Standards Organization
Click below for power point
| iso.ppt |
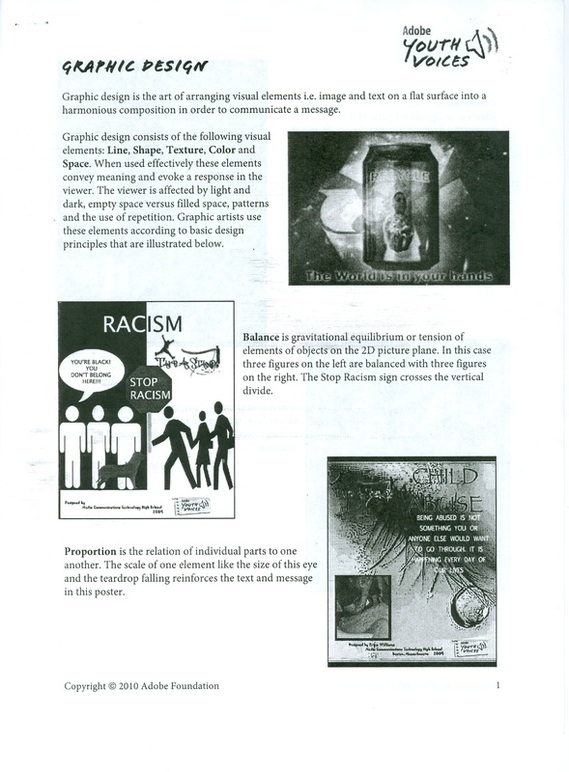
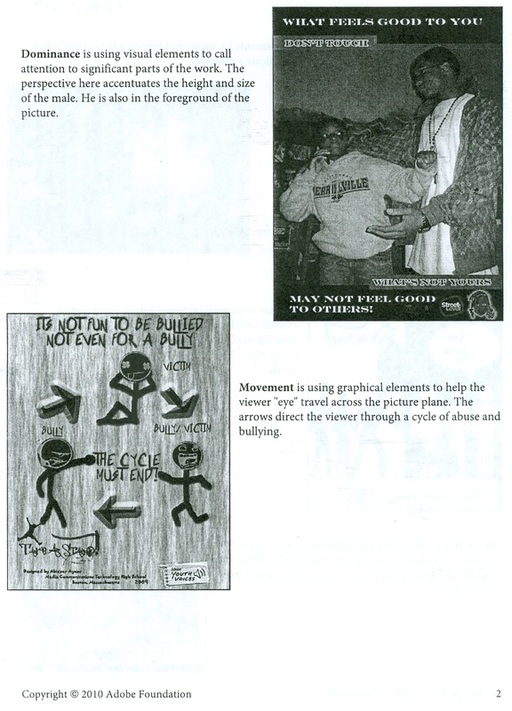
PSA (Public Service Announcement) Posters Project
1.Choose a topic that you believe is an important issue in today's society. You may research it online.
2. Make sure you look at the statistics for your particular topic and include them on your paper.
3. Write a 100 word minimum essay on your topic and state why you believe this is an important issue and include statistics.
4. Posters need to be 8.5 inches by 11 inches. Resolution 300
5. The header of the poster must have a nice text tutorial that relates to the topic.
6. Poster must also have a contact info line (web address, phone number, email, etc)
7. Minimum of one photo needs to be taken by you.
8. Make sure to have a Graphic Design Element.
9. Include a statistic or sentence about your topic on the poster.
4-3-13 White Balance
Take photos of 2 subjects indoor with 6 different White Balances for a total of 12 photos.
Make sure you label the WB.
Click link below for Power Point for WB
| white_balance.pptx |
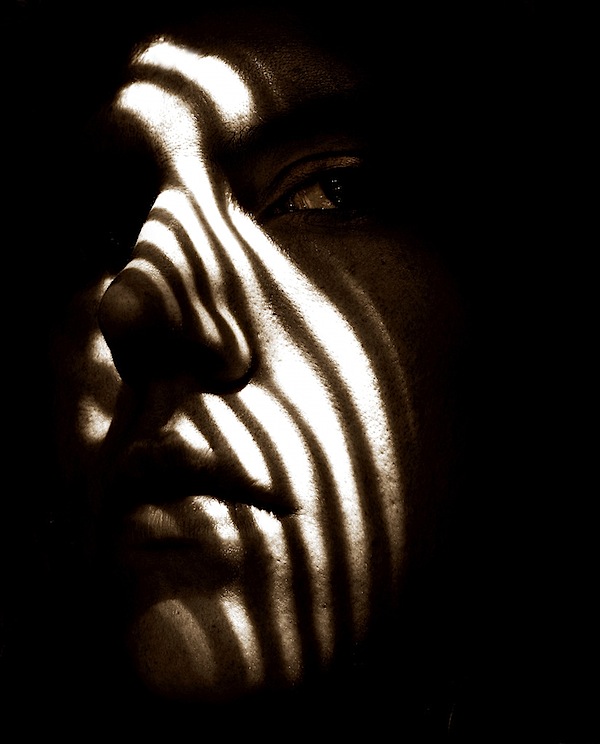
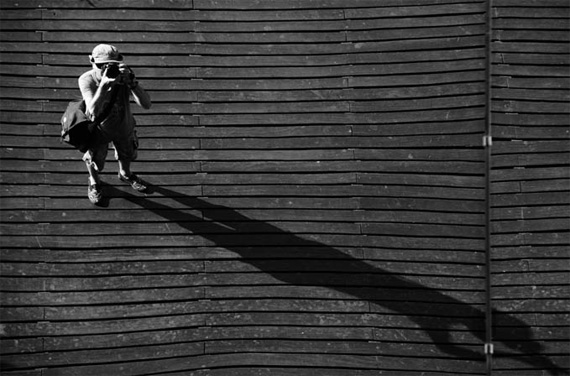
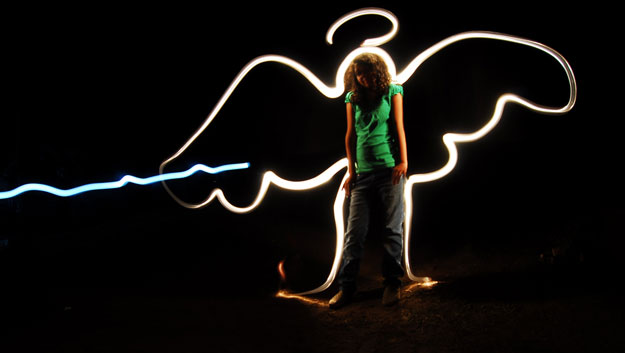
Shadows 4/02/2013
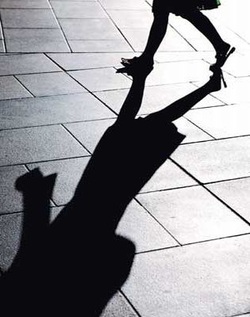
Your Challenge is to take and share 5 photos with the theme of ‘Shadows’.
Shadows are something we often don’t think about in the composition of images (at least many times it slips our minds) but I find that when I do give it some thought it can often help to create an image with mood, depth, texture and interest.
It should be something that most of us has access to – whether it be natural shadows (long shadows at the end of the day, shadows from buildings or other structures etc) or shadows that we create with some artificial light (I’m thinking moody portraits with part of the face in shadows for example).
Feel free to get creative and interpret them in any way that you wish – but if you’re looking for some inspiration do check out our previous shadow image collection.
Look up shadow photos online and post at least 5 of them to your Weebly websites.
Once you’ve taken your 5 ‘Shadow’ photos – edit them using brightness, contrast, levels etc and upload them to your Weebly website.
Direction of Light
The most important element in photography is light. Without it, photos would not exist. Learning about the qualities of light is crucial to understanding and eventually mastering photography.
Light has many qualities. We've already learned about color temperatures, to name just one. In the coming weeks, we will be learning about lights other attributes as well. In today’s lesson, we are going to be studying direction. Direction relates to the location of your primary light source in relationship to you. There are four main types of lighting:
* Front Lighting
* Side Lighting
* Top Lighting
* Back Lighting
Each type of lighting can dramatically change the effect of your scene, whether it adds textured shadows or abstract silhouettes. Making a change in your scene by slightly turning toward or away from your light source can totally change it's visual impact.
ASSIGNMENT:
You will go out and take pictures using all four (if possible) directions. Your subject matter will try to show either:
* The changing of the seasons at Mission Vista High
or
* A pillar of character:
o Trustworthiness
o Respect
o Fairness
o Caring
o Responsibility
o Citizenship
TURN IN ASSIGNMENT:
* Go to your pictures folder and create a new folder. Call it <your period> - <your name> light direction.
* Select 4 shots representing 4 different lighting directions.
* Color correct each shot. (Exposure, brightness, contrast, levels and curves)
* Go to File > Save As... and save each as a JPEG copy to your new folder.
Upload all 4 photos on to Weebly and Label them Light Direction
Symmetry in Photography
Take 2 Symmetry and 2 A-Symmetry photos. See directions on handout below.
| symmetry_in_photography.doc |
Symmetry in Photography
Symmetry is the property of being the same on both sides of a central dividing line. It can also be described as the harmony or beauty of a form that results from balanced proportions. Asymmetry is the opposite of symmetry.
10 Tips for great photos
| top_10_tips_for_great_pictures.doc |
If finished early choose 5 photos of your own to edit using the histograms. Click file below.
| _histograms.docx |
ABC Scavenger Hunt
Take Photos of things for every letter of the Alphabet A-Z
Edit and then upload them to your weebly sites.
Edit and then upload them to your weebly sites.
Layer Masks
- You will create a Photoshop document with 2 photos using a layer mask
- Then create a second document combining a face and a body.
| layer_masks.docx |
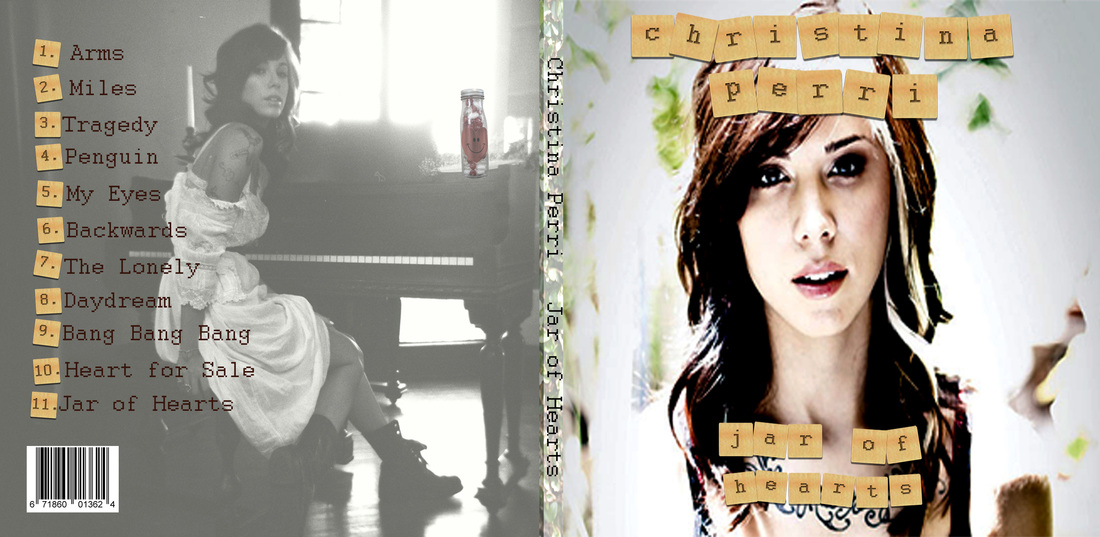
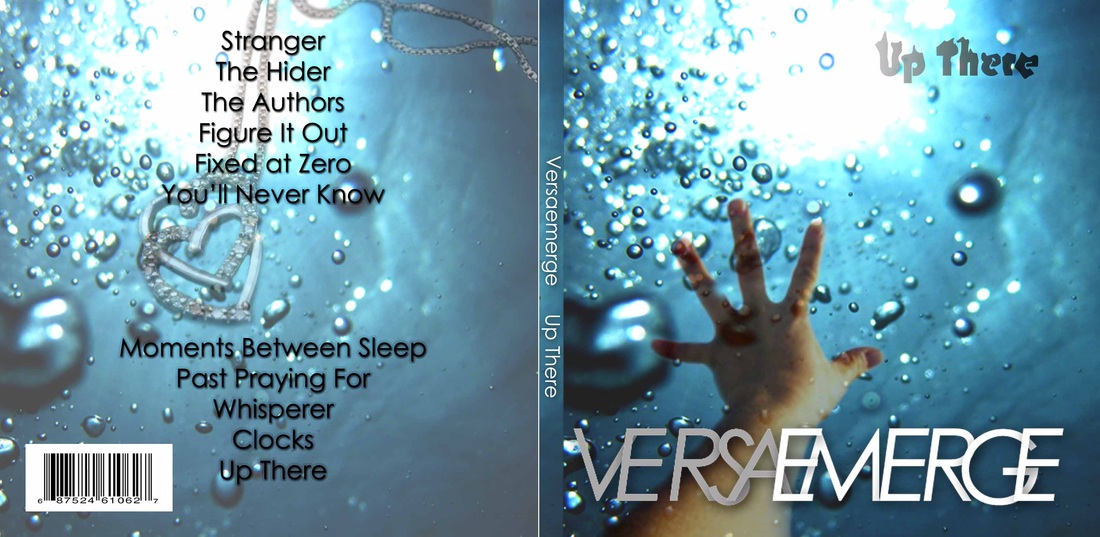
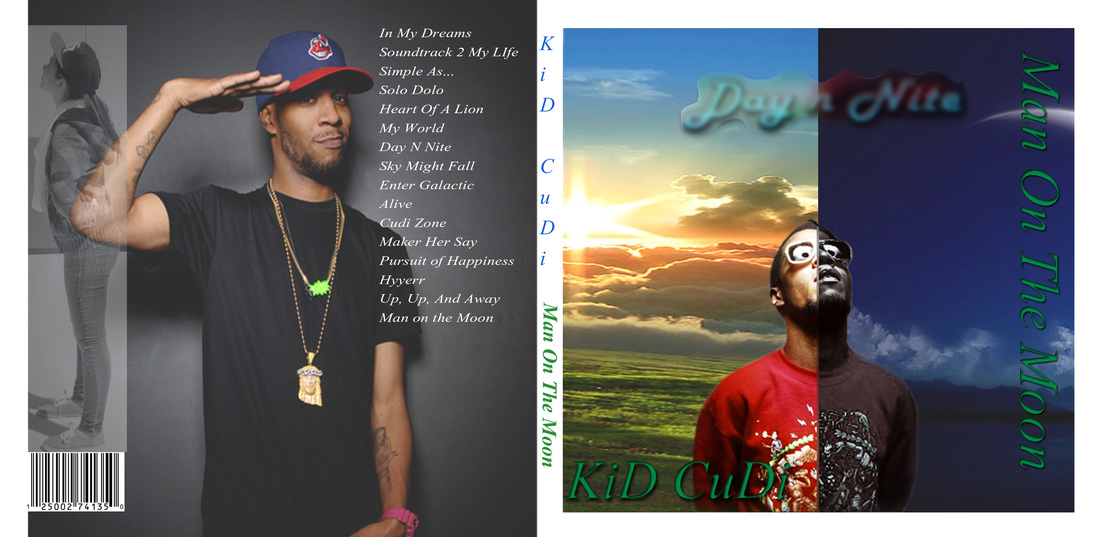
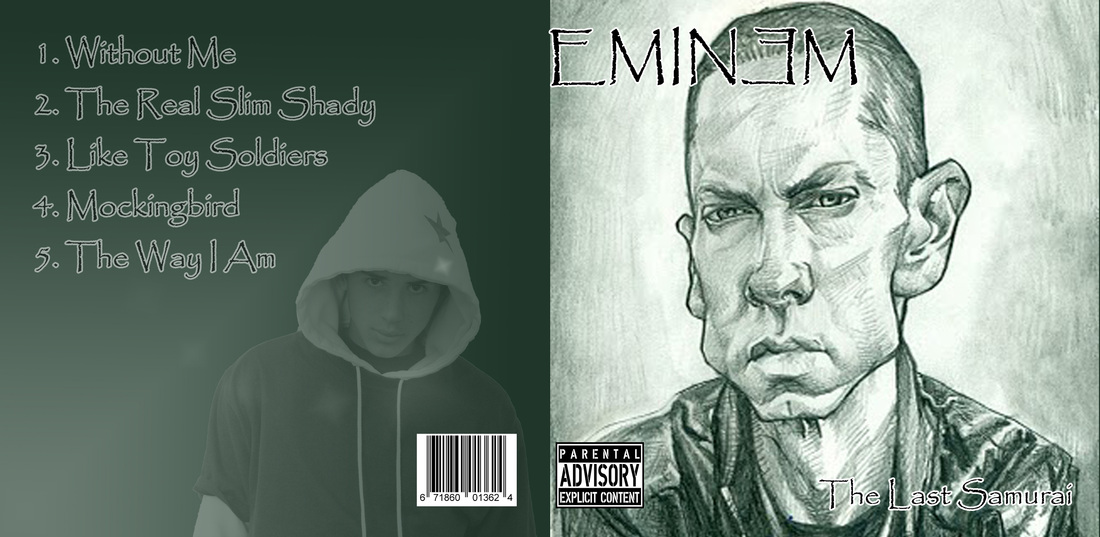
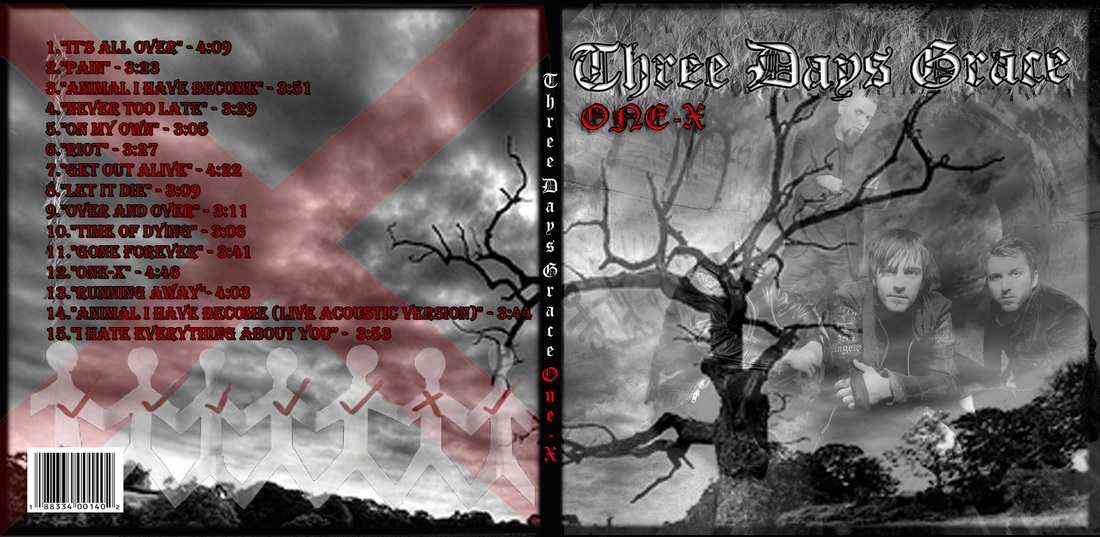
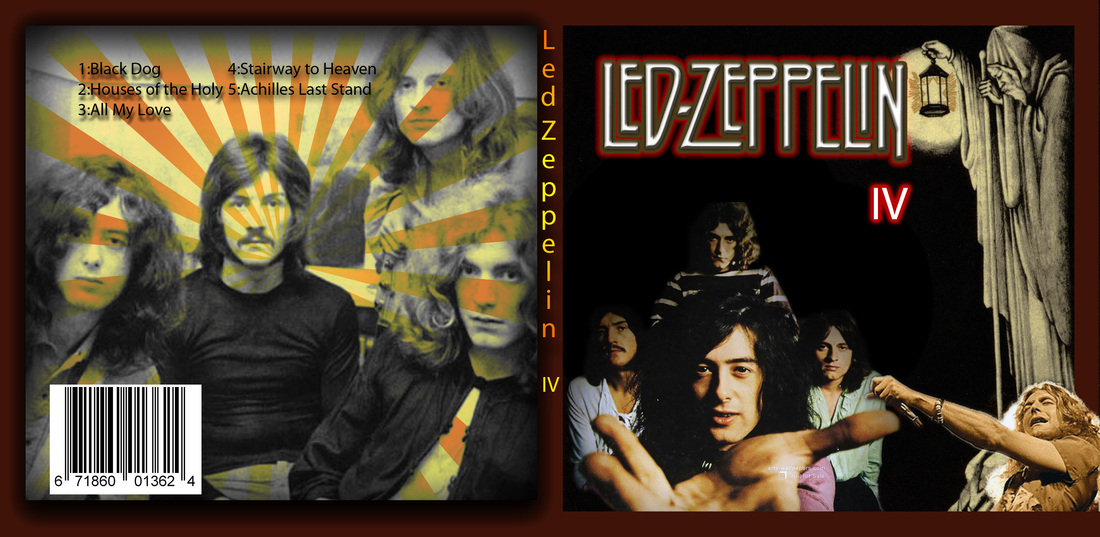
Week 9 CD Cover Project
1. First gather photos or artwork for your album cover. You will be creating a collage of photos and art for your CD cover.
2. You must take at least 1 photo that you have to include into your Album cover.
3, Download Photoshop doc called "cdtemplate.psd" below. The document is 10.75 in wide x 5.25 in. high.300 resolution The guidelines .25 inches around document.
4. Your album CD cover requirements: Band or Artist Name, Album name, song list, bar code, side bar, and minimum of one photo that you took, and photos and art for the cover.
5. You must have text effects on your text and or blending options (Drop shadow, inner shadow, bevel emboss etc)
| cdtemplate.psd |
| layer_masks.docx |
Week 7 Famous Photographer Project
Objective:
To provide the student with an opportunity to do a “in depth” investigation into the work of a famous photographer.
1. MLA Format (full) page research paper (plus a page of bibliographical sources) will include:
Specific information about the photographer’s background. Where did they learn to photograph? How long have they been working as a photographer?
Specific information about the photographer’s style of photography. Has their style (or subject matter) change over the course of their career?
What is their credo (photographic beliefs)?
How does the photographer seem to be making a living?
How do you respond to the photographer’s work? Why do you like it or dislike it? Select one image that you particularly like and research what it currently costs to purchase.
2. By the end of the period you should have selected a photographer.
3. Bibliography of at least 2 different sources is required. One Website source and one other non-website source(magazine article, newspaper. etc)
4. The photographer can be alive or deceased. Everyone in class will have a different photographer.
5. After writing your research paper you will then take 2 photos in your famous photographer’s style.
Here are some sample famous photographers to choose from:
Ansel Adams
Henri Cartier-Bresson
Robert Doisneau
Elliott Erwitt
Robert Frank
Anne Geddes
Annie Leibovitz
Edward Steichen
Edward Weston
Jim Brandenburg
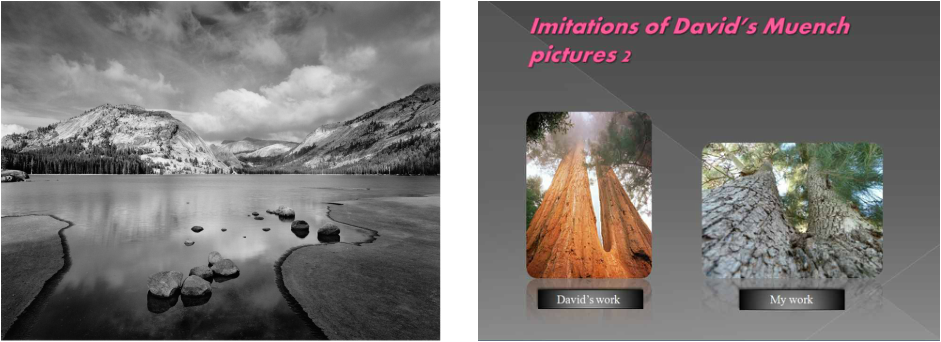
David Muench
Irving Penn
Richard Avedon
Famous Photographer Power Point or Prezi Presentation
1. Minimum 6 slides
2. Transitions and animation between each slide.
3. Picture effects for all photos.
4. Include music throughout the presentation.
5. Title page with your name, photographer’s name and pic, date, period and my name.
6. You will need 5-6 examples of their work. Also start to brainstorm and think on how you can emulate or imitate their style of photography Minimum 2
7. You will be doing a 3-4 minute oral presentation about your photographer using Power Point along with at least 7-8 photos.
To provide the student with an opportunity to do a “in depth” investigation into the work of a famous photographer.
1. MLA Format (full) page research paper (plus a page of bibliographical sources) will include:
Specific information about the photographer’s background. Where did they learn to photograph? How long have they been working as a photographer?
Specific information about the photographer’s style of photography. Has their style (or subject matter) change over the course of their career?
What is their credo (photographic beliefs)?
How does the photographer seem to be making a living?
How do you respond to the photographer’s work? Why do you like it or dislike it? Select one image that you particularly like and research what it currently costs to purchase.
2. By the end of the period you should have selected a photographer.
3. Bibliography of at least 2 different sources is required. One Website source and one other non-website source(magazine article, newspaper. etc)
4. The photographer can be alive or deceased. Everyone in class will have a different photographer.
5. After writing your research paper you will then take 2 photos in your famous photographer’s style.
Here are some sample famous photographers to choose from:
Ansel Adams
Henri Cartier-Bresson
Robert Doisneau
Elliott Erwitt
Robert Frank
Anne Geddes
Annie Leibovitz
Edward Steichen
Edward Weston
Jim Brandenburg
David Muench
Irving Penn
Richard Avedon
Famous Photographer Power Point or Prezi Presentation
1. Minimum 6 slides
2. Transitions and animation between each slide.
3. Picture effects for all photos.
4. Include music throughout the presentation.
5. Title page with your name, photographer’s name and pic, date, period and my name.
6. You will need 5-6 examples of their work. Also start to brainstorm and think on how you can emulate or imitate their style of photography Minimum 2
7. You will be doing a 3-4 minute oral presentation about your photographer using Power Point along with at least 7-8 photos.
| by_monika_cortez.pptx |
| david_muench.pptx |
Changing Color Assignment
Use 3 photos for this changing color assignment. At least 1 photo must be taken by you that is made up of 1 solid color.
| Click here to upload file |
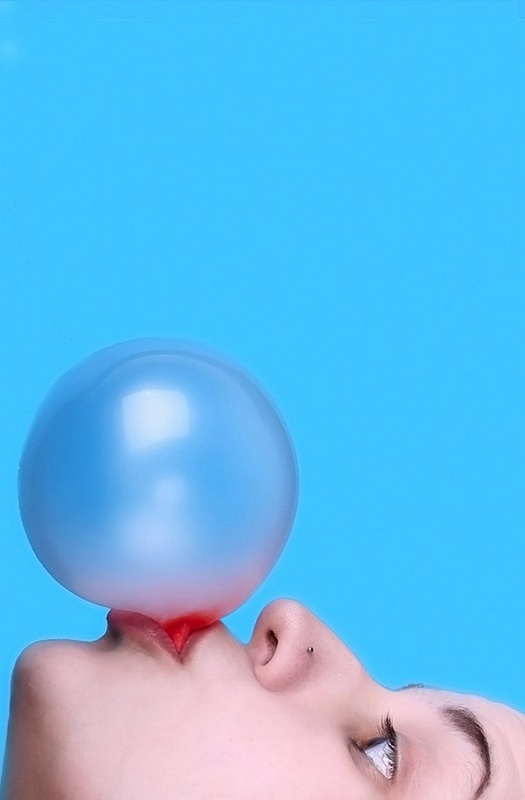
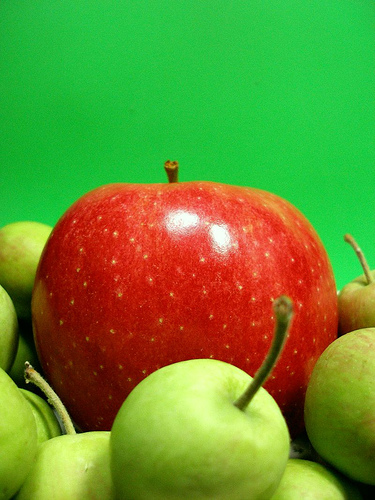
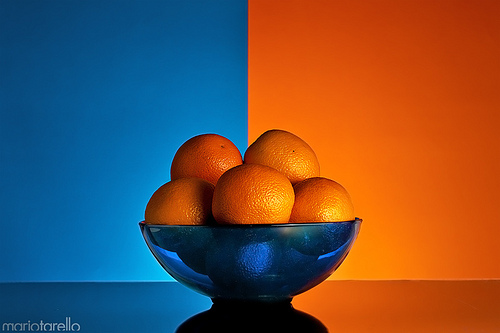
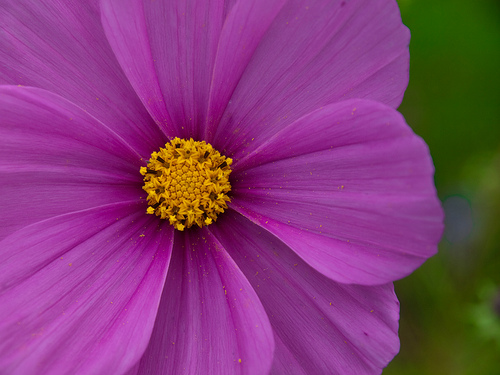
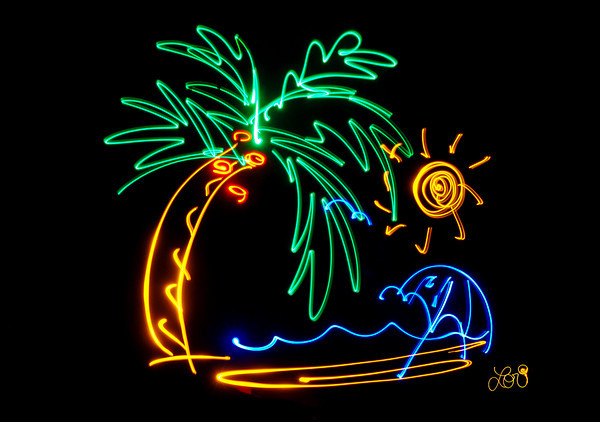
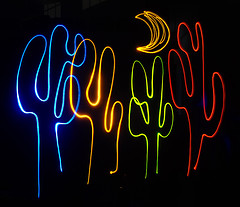
Complimentary Color Photos
Complimentary Photo AssignmentComplimentary Colors
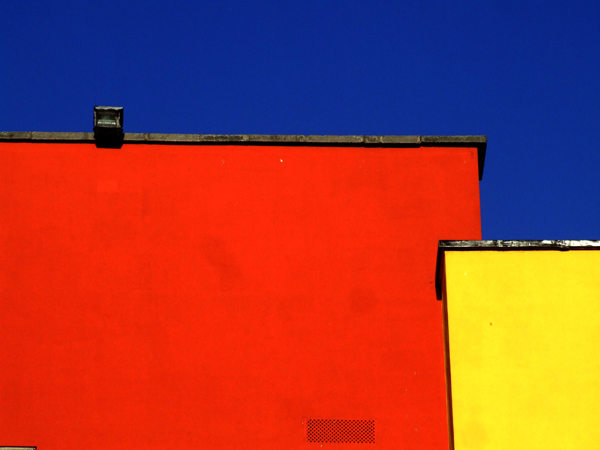
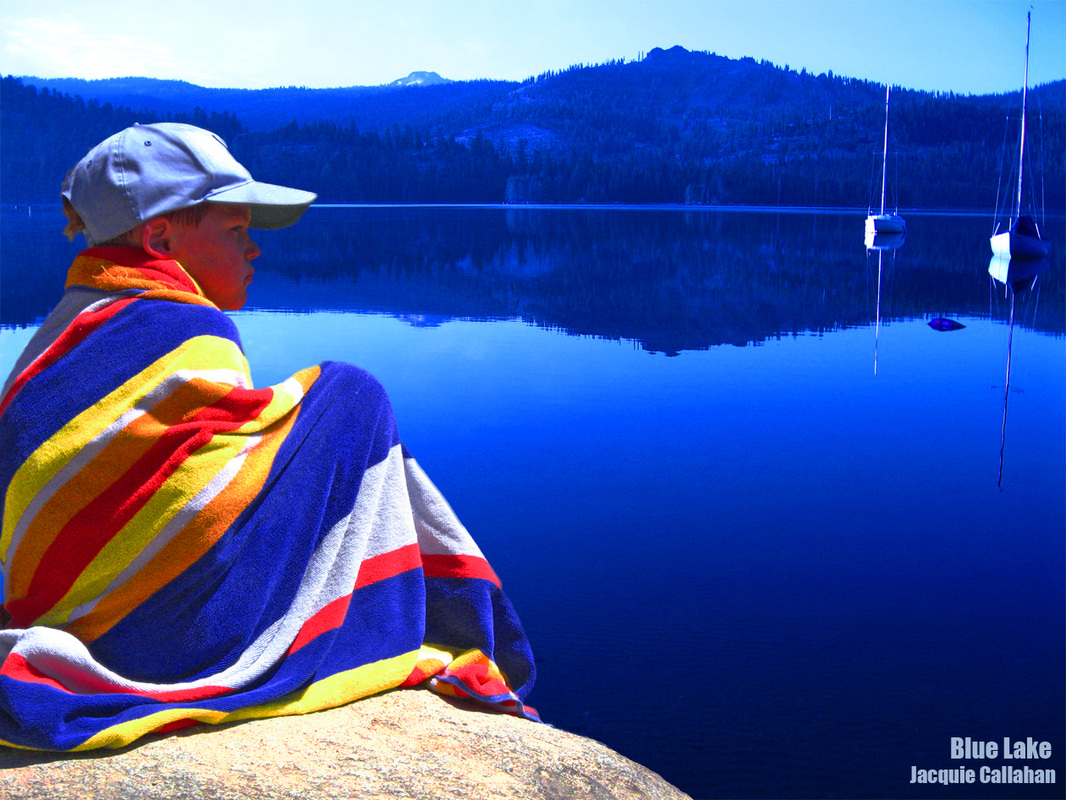
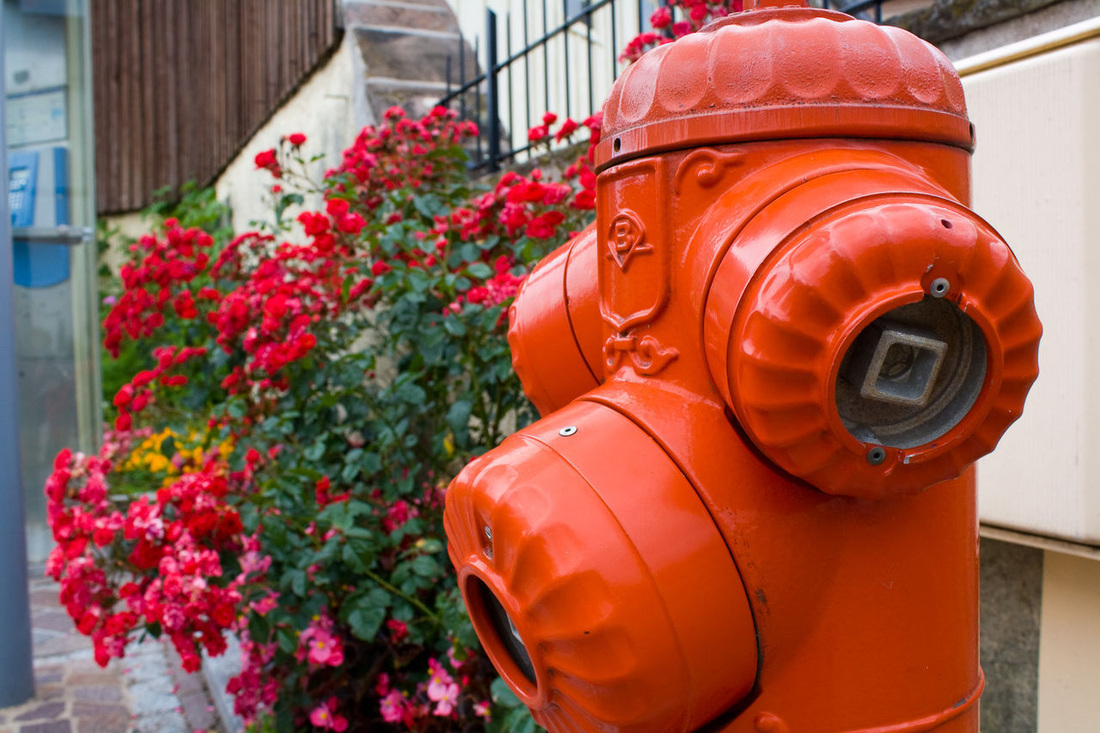
Here we are talking about color schemes now, and in this assignment, you will go out and create photos consisting of complementary colors.
Your goal is to capture striking photos using opposite colors in your image. Here are some sample websites showing you how it can be done:
ASSIGNMENT:
I expect you to be thinking artistically and creatively about your photos. Do not simply take a picture of a red coke can lying on some green grass. Use all the lessons we've learned so far.
TURNING IN ASSIGNMENT:
You will submit THREE JPEGS. Try to get three different color contrast combinations.
Here we are talking about color schemes now, and in this assignment, you will go out and create photos consisting of complementary colors.
Your goal is to capture striking photos using opposite colors in your image. Here are some sample websites showing you how it can be done:
ASSIGNMENT:
- Go out and take artistic and creative pictures that are made up of complimentary colors.
- Like the photo examples on the links above, your photos should be almost completely made up of complimentary colors.
- Once you bring your pictures in, color correct them and crop them to get the best composition. Cut out any excess background to make the subject bigger in the picture.
I expect you to be thinking artistically and creatively about your photos. Do not simply take a picture of a red coke can lying on some green grass. Use all the lessons we've learned so far.
TURNING IN ASSIGNMENT:
You will submit THREE JPEGS. Try to get three different color contrast combinations.

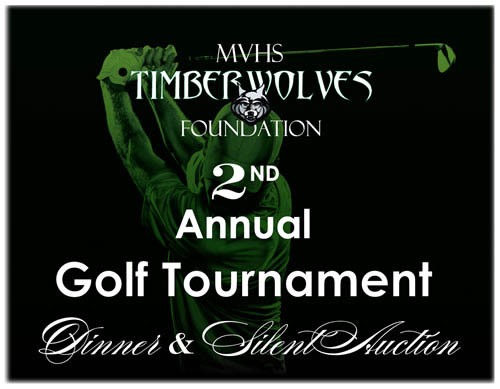
Golf Logo Contest $100 to winner
| golf_logo_contest_flyer.pdf |
Week 6 Color Theory
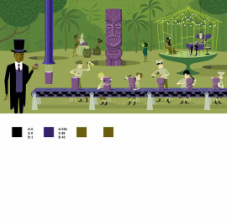
To see how artists put these theories to real use, we are going to create a color chart using the art of SHAG.
In this project you will select a painting by the artist SHAG and develop a color chart of the artwork.
1. Go to the website: http://shag.com/gallery.html
and select a category.
2. Find a painting that you like, then right-click it and “Save picture as…” to save a copy to your Documents folder.
3. Start Photoshop, and then choose File > Open to open the image.
4. Go to Image > Image Size on the menu. On the “Document Size” settings, down at the bottom left hand side of the dialogue screen, uncheck the "Resample Image" box. Change the resolution from 300 to 72. This will increase the size of the image
5. You’ll want to add text and color swatches next to the painting, so you’ll need to enlarge the canvas or image area. Go to Image > Canvas Size on the menu. Double the height , then for the Anchor, click on the center top . This will put the painting above of the canvas and add a white background below to add your color swatches.
6. Select the Rectangle tool, then in the Properties bar below the menu, click the drop down arrow for geometry. Select “Fixed Size”, width and height equal .5 in.
7. You’re going to make a swatch for each color in the painting. Create some boxes to the side of the painting, then select one of the boxes by clicking it’s layer. Double-click on the color icon in the layer to open the color picker. Move your cursor over to the painting and click on a color to change the boxes color. Repeat this process until you have a swatch for every different color.
8. Organize the swatches so that similar hues are grouped together on the page.
9. Finally, using your text tool, type the color value next to each swatch using the hue, saturation and brightness values of each swatch in the color picker.
Questions:
How would you define the color values? Look at the hues. Are they similar, complimentary, analogous…? How did the artist use them to compose his picture? Write a paragraph analyzing your results and submit a JPEG to your Blog
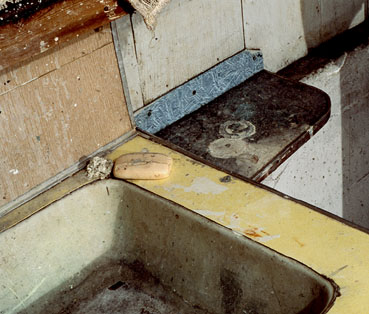
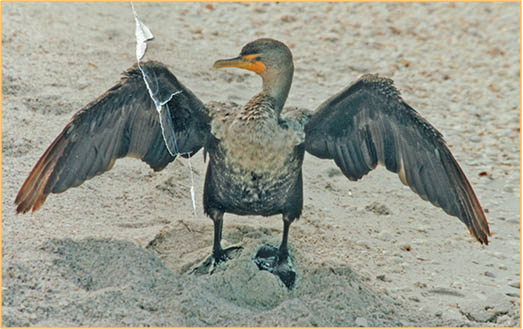
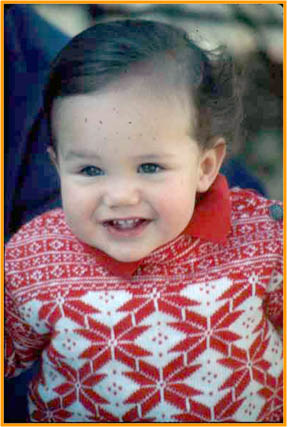
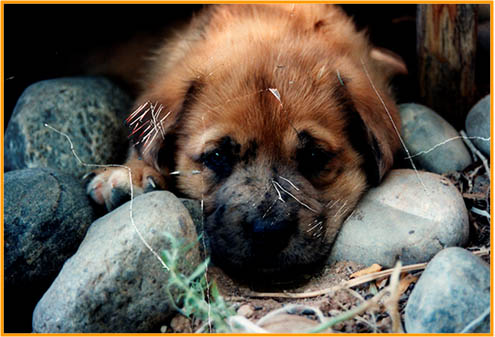
Week 6 Healing Tools
- Save all three Healing Photos below in a folder called Healing Photos and then open in Photoshop.
- Click on file below to open up the the spot Healing brush tool Microsoft Word Document.
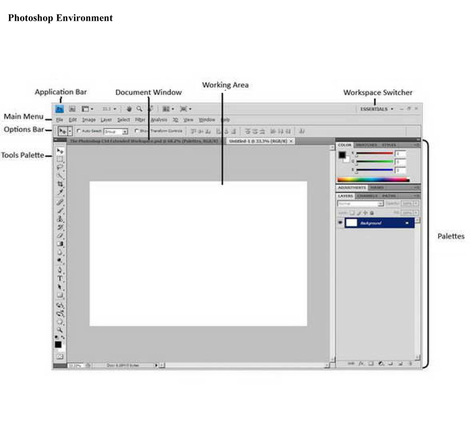
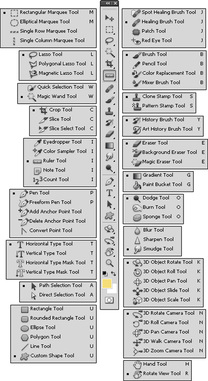
- Read the document and find all tools in Photoshop. Refer to tools handout or Photoshop tool photo from Week 1 below
- Using the tools from the handout fix the photo of the baby, dog and bird.
- When finished with the first 3 photos.Go on Google and research 3 more photos to fix and restore.
- You can do a search on Damaged Photos and Photo restoration or torn photos.
- Those who finished early work on the Chrome and Frame text tutorial click link below:
- http://photoshop-dragon.com/Tutorials/Text_Effects/Chrome_Text.htm


| healing_photos1.jpg |
| healing_photo2.jpg |
| healing_photo3.jpg |
| the_spot_healing_brush_tool.docx |
Week 5 Reflection
Write a 150-200 word reflection essay on what you have learned in Photography class thus far in the term. Use Microsoft word and type it use correct grammar and do a spell check.You may post it on your website or print it on our HP inkjet Printer.
Photo Magazine Contest

Post Card Montage Project

- Download Photoshop Document that is 7in x 5in-Click link below
- Resolution should be 300
- Pick any 4 photos that you have taken during this term or you may take more photos for this project.
- You will crop 3 photos into squares (2 in x 2 in) 300 resolution and place them on the document.
- The 4th photo will be your background.
- You must add filters on your photos and blending options(drop shadow, inner glow outer glow).
- Minimum 1 out of 3 squared photos should have artistic filters
- Your text should read "Greetings from Mission Vista High School." or something similar.
- You should also have a text tutorial for the "Greetings Part".
- The 3 cropped photos must have a Blending options.
| postcard_template.psd |
Rubric for Post Card Montage Project

Click on Image to the left to see rubric for Postcard
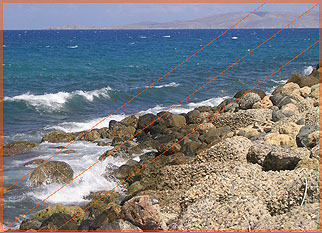
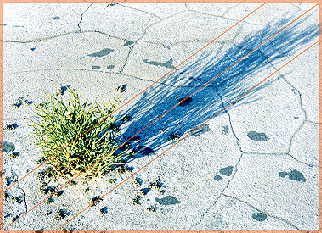
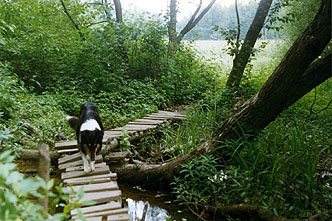
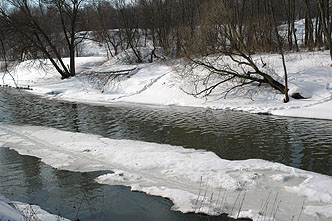
Week 2 Diagonal Photos
- Post 3 examples of diagonal on website
- Indoors Take at least 5 Diagonal Photos
- Edit, Label fstop & Shutter Speed Crop and Post to your Weebly Website
- Day 2 Diagonal
- Outdoors take 5 diagonal Photos Same as indoor instructions
| diagonal_rule.docx |
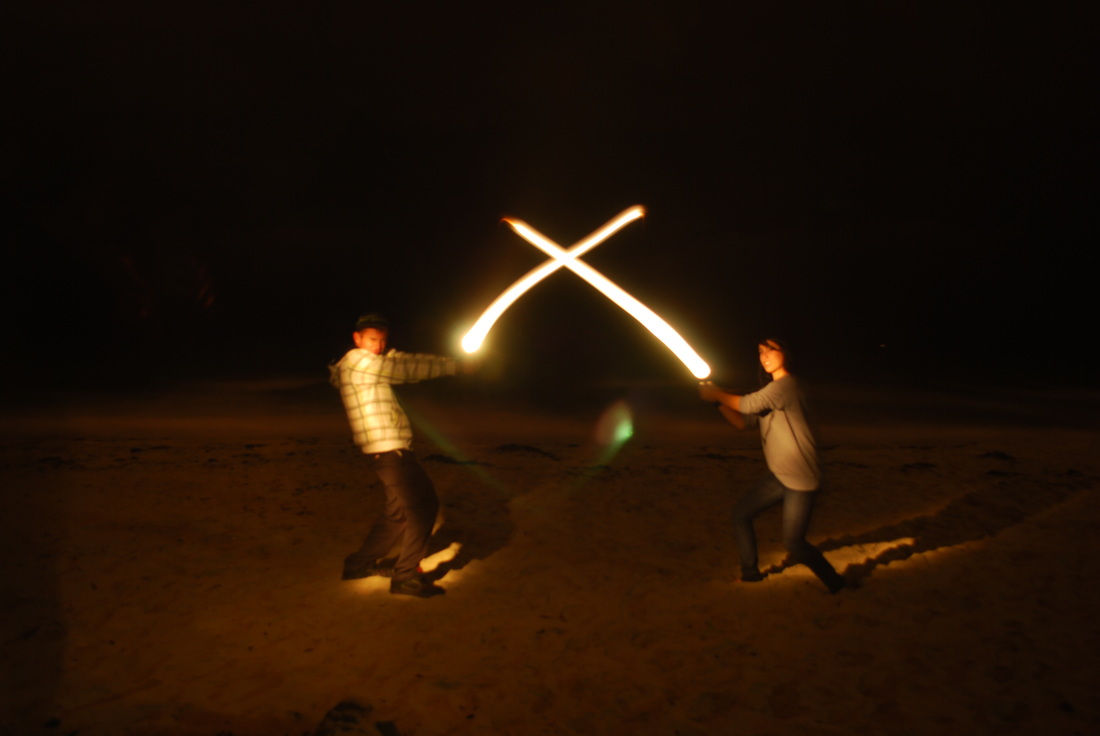
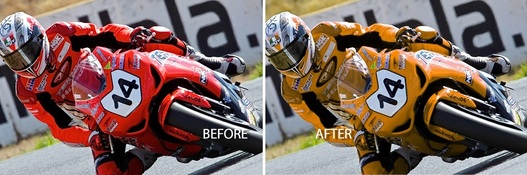
Shutter Speed
Presentation on Shutter Speed (Freeze Frame)
- Take at least 6 good Freeze Frame Photos (indoor) 3 Vertival & 3 horizontal
- Make sure to edit the photos
- Label the Shutter Speed and Fstops for each Photo
- Upload them on a post on Blogs with a title Freeze Frame
- Do the same for outdoors (5)
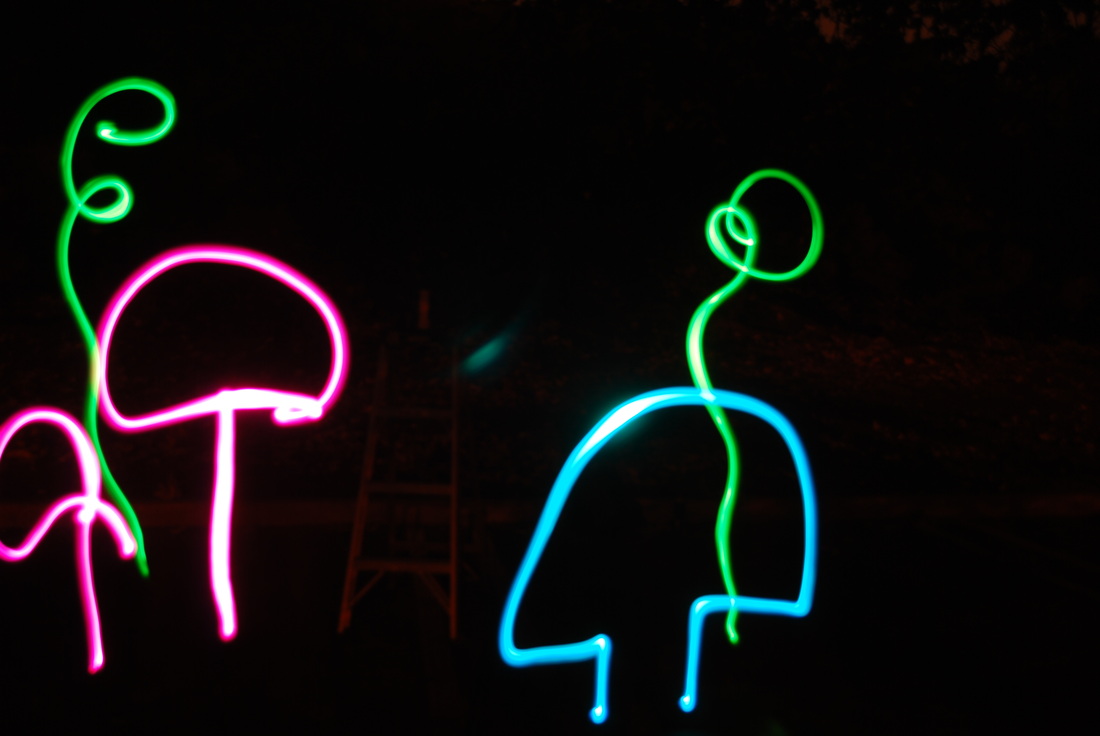
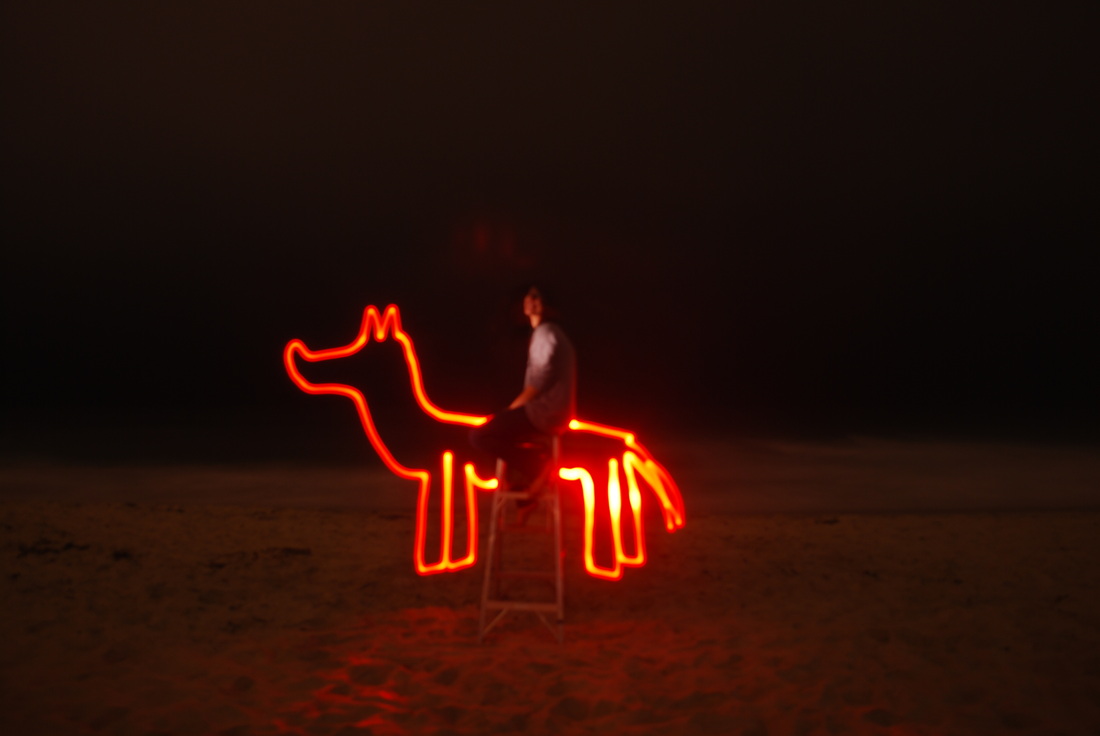
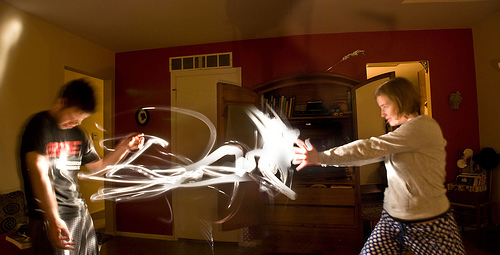
- Motion Blur Indoors 5 total follow steps 3-4 above
- Motion Blur Outdoors 5 total follow steps 3-4 above
Sample Freeze Frame Photos (Sports Action)
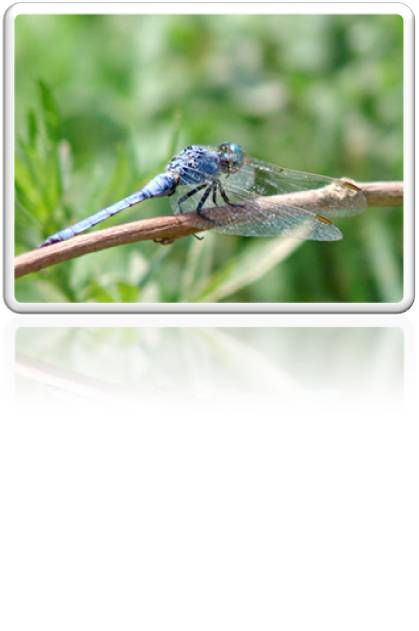
Depth of Field
Take 6 photos total 3 landscape and 3 portraits. Look at samples on Power Point Below


| aperture.pptx |
Week 2
- Start Photoshop Tutorials
- Finish First 3 tutorials on Photoshop Dragon Website then complete the water text
- Go to
http://photoshop-dragon.com/ work on Water Text Tutorial
Introduction to Photoshop
Photoshop Interface and Environment
Click on link Below and do the Digital Photography tutorials There are 3.
http://photoshop-dragon.com/
Click on link Below and do the Digital Photography tutorials There are 3.
http://photoshop-dragon.com/
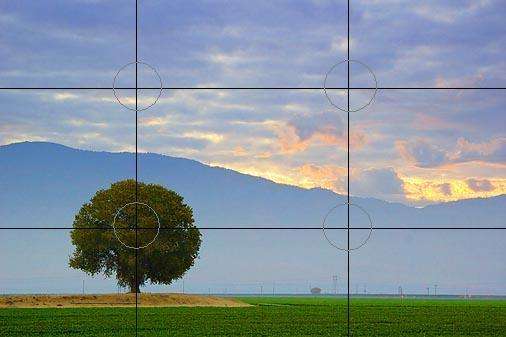
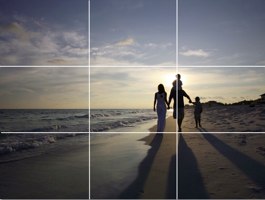
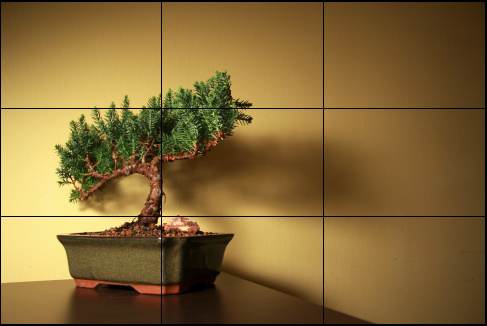
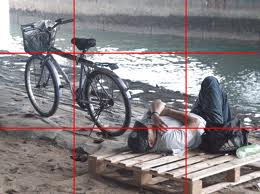
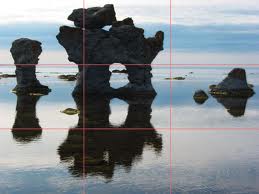
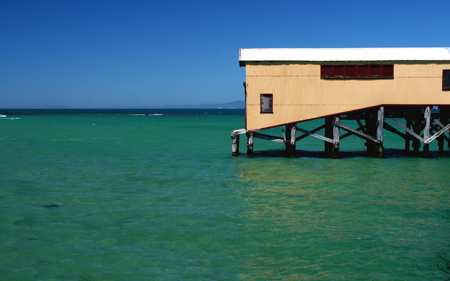
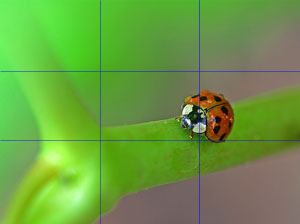
Rule of thirds
Utilize the Rule of Thirds. Take as many pictures as you want, but choose your best 3 portrait style photos, and your 3 best landscape style photos to turn in (6 pictures total)
Click Below for Power Point on how to hold a SLR camera
| how_to_hold_a_digital_camera_1.pptx |
Week 1 Assignment "History of Photography"
1. Research the definition of Photography and the root words "photo" & "graphy"
2. What is the History of Photography? You can create a timeline or just write about it.
3. Who was credited for taking the first Photo?
4. List 8-10 different types of photography and find photos of these.
5. Use Microsoft Word must be 150-200 word 12 pt font.
6. Make sure to use your own words
7. Then copy and paste to your website homepage
Week 1 Introduction to SLR Camera
Objective: Students will learn and recognize parts of an SLR Digital camera.
Introduction SLR Camera (Nikon D3000). Students will also learn safety precautions on how to hold a camera and the proper ways to shoot a camera.
Instruction Manual:
Activity:Label Parts of Camera Handout.
Handle the Nikon D3000 and Learn Basic Functions of the camera. (Auto Program, How to view images. on the Camera)
Other Photography Equipment
(Tripod, Lens Cleaner, Camera Bag)
Go over PowerPoint on the proper ways to hold a camera.
Materials/Equipment/Software: Nikon D3000 camera
Week 1 Introduction to Photographic Imaging

This website will help provide the curriculum and assignments that will be given throughout the term.
Course Introduction Class Syllabus
- Seat Assignments
- Introduce your classmate
- Create a Weebly account
- Write a short Blog about yourself and comment on 2 classmates.
- The History of Photography
- Introduction to the SLR Camera
- Parts of the Camera
